How to Install Python on Windows [Pycharm IDE]:
PyCharm is a cross-platform editor developed by JetBrains.
Pycharm provides all the tools you need for productive Python development.
Pycharm provides all the tools you need for productive Python development.
Installing Python:
Many PCs and Macs will have python already installed.
- To check if you have python installed on a Windows PC, search in the start bar for Python or run the following on the Command Line (cmd.exe):
C:\Users\YourName>Python --version
- To check if you have python installed on a Linux or Mac, then on linux open the command line or on Mac open the Terminal and type:
python --version
- If you find that you do not have python installed on your computer, then you can download it for free from the following website: https://www.python.org/
Step 1:
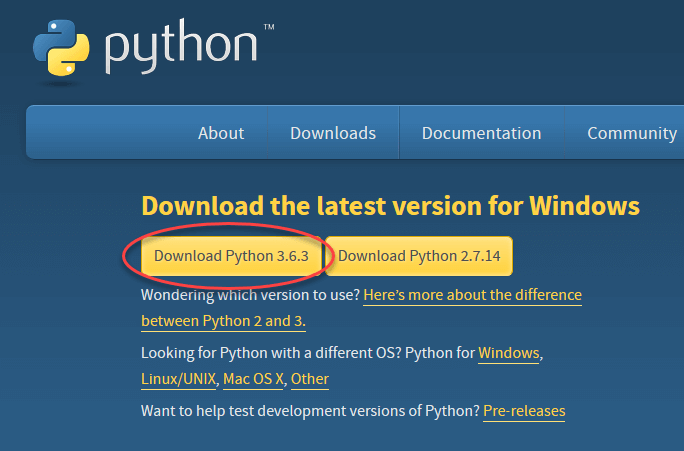
To download and install Python visit the official website Python http://www.python.org/downloads/ and choose your version. Python version 3.6.3 is recommendable.
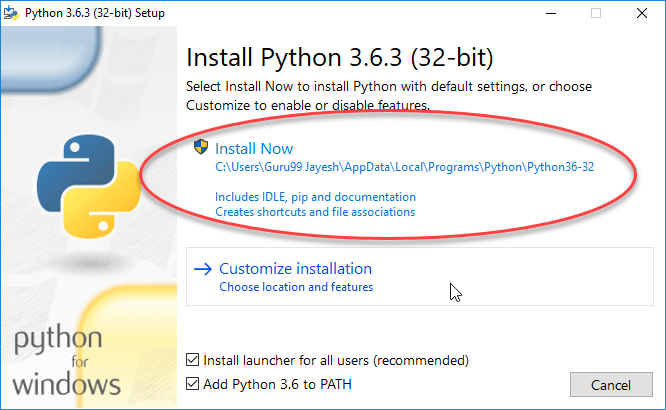
Step 2: Once the download is complete, run the exe for install Python. Now click on Install Now.
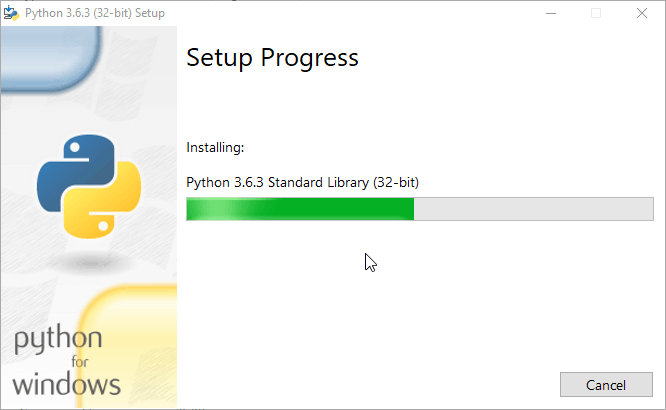
Step 3: We can see Python installing at this point.
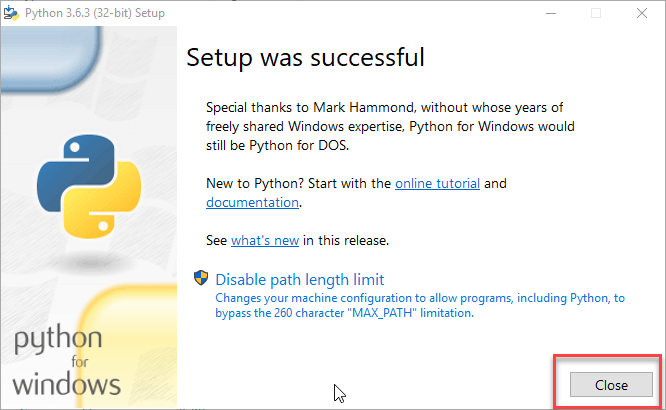
Step 4: When it finishes, we can see a screen that says the Setup was successful. Now click on "Close".
Installing Pycharm:
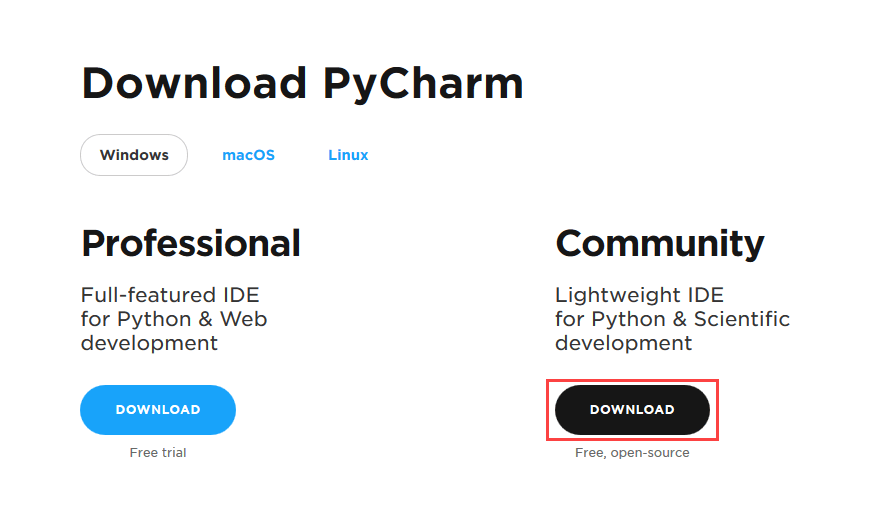
Step 1: To download PyCharm visit the website https://www.jetbrains.com/pycharm/download/ and Click the "DOWNLOAD" link under the Community Section.
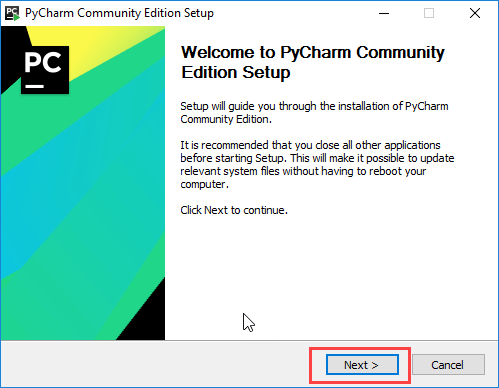
Step 2: Once the download is complete, run the exe for install PyCharm. The setup wizard should have started. Click “Next”.
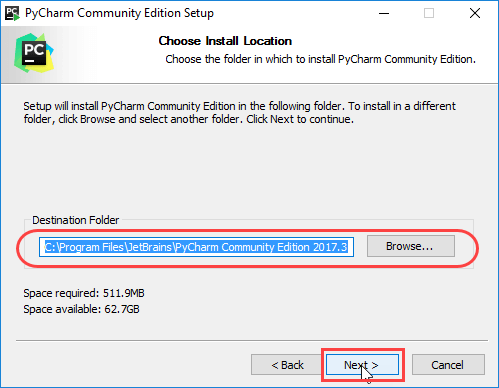
Step 3: On the next screen, Change the installation path if required and Click “Next”.
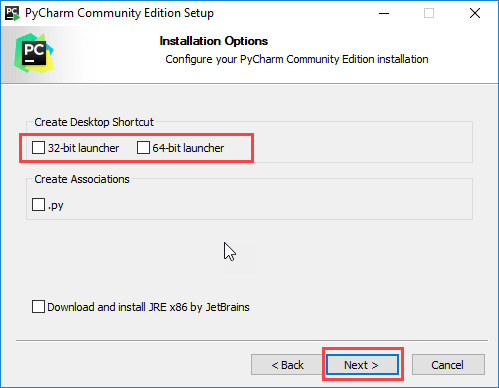
Step 4) On the next screen, you can create a desktop shortcut if you want and click on “Next”.
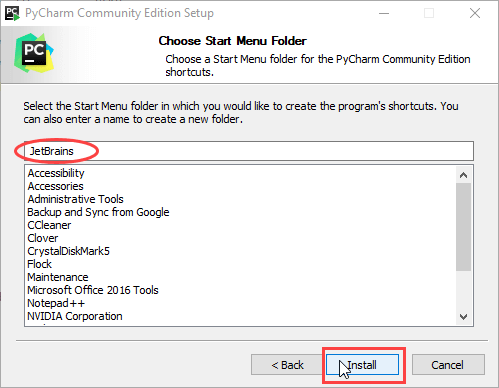
Step 5: Choose the start menu folder. Keep selected "JetBrains" and click on “Install”.
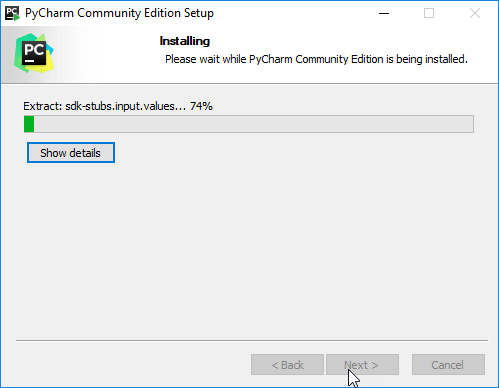
Step 6: Wait for the installation to finish.
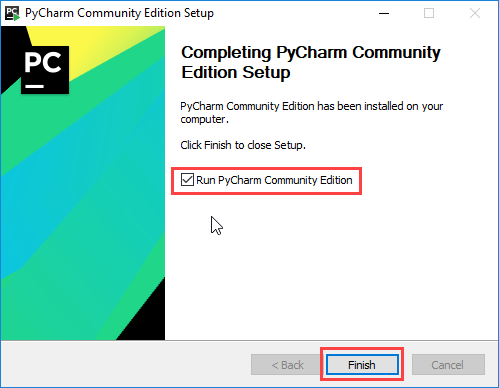
Step 7: Once installation finished, you should receive a message screen that PyCharm is installed. If you want to go ahead and run it, click the “Run PyCharm Community Edition” box first and click “Finish”.
Step 8: After you click on "Finish," the Following screen will appear.


No comments:
Post a Comment